


Learning how to start seeds indoors gives you a head start on a healthy garden. Starting seeds indoors lets you choose from more varieties. It also gives you a controlled space to manage early growth and give long-season vegetables or annual flowers enough time to mature during summer.
Shop grow lights and seed-starting trays at GroIndoor to set up your indoor seed station.
To learn how to start seeds indoors, begin with suitable seeds, a sterile and lightweight seed-starting mix, steady moisture, and dependable light. Most seeds are started about 6 to 8 weeks before the expected last frost. The packet instructions and your local conditions should guide the final timing.
The process is manageable when you treat it as a series of small decisions. Choose plants suited to your season. Then create the right germination environment and adjust care as seedlings develop. Before selecting supplies or planting the first seed, it helps to understand why an indoor start can make such a difference.
Why Start Seeds Indoors?
Starting seeds indoors gives you more control over the earliest and most vulnerable stage of plant growth. Instead of waiting for garden-center availability or relying entirely on outdoor conditions, you can choose what to grow and provide a consistent environment for germination. That head start can make it easier to plan a productive, varied garden.
Grow more varieties with less cost
Seeds are a relatively inexpensive way to grow a wider range of plant varieties, colors, and growth habits than those typically available as established plants at garden centers. A single packet can offer several plants for the cost of one nursery specimen. That makes indoor seed starting a practical option when you want to experiment with different selections or fill a larger growing area.
Starting from seed also puts variety choice in your hands. You can compare compact and vigorous growth habits, select flowers by color, or choose vegetables suited to your available space and growing conditions. This flexibility is especially useful when a local garden center carries only a limited selection. Plan your varieties before sowing, and keep packets organized so you know what is growing in each tray or container.
Give long-season plants enough time
Timing is another important reason to begin indoors. Many long-season vegetables must be started indoors in early spring to mature during the summer. Many annual flowers also need an indoor start if they are to bloom within the summer season. In these cases, sowing directly outdoors may leave the plant with too little time to complete its growth cycle before the season changes.
Indoor starting creates a bridge between the growing conditions plants need for germination and the outdoor season that follows. You can begin with clean containers, suitable growing media, moisture, and a protected location, then move healthy plants outside when conditions are appropriate. The goal is not to keep seedlings indoors indefinitely. It is to help them establish a strong beginning so they are ready for the next stage of growth.
For the best results, match each crop to its recommended timing and keep your setup manageable. A focused selection of varieties is easier to label, monitor, and care for than an overcrowded tray. With a little planning, starting seeds indoors can provide both greater choice and a more dependable path to a full-season garden.
Which Seeds Fit Your Plan for How to Start Seeds Indoors?
The best candidates for an indoor start are crops that need a long growing season, take time to mature, or benefit from a carefully controlled beginning. Many long-season vegetables and annual flowers need to be started indoors if they are going to mature or bloom during the summer. Starting them in a protected space gives young plants time to develop before outdoor conditions are ready for them.
Warm-season vegetables are often a practical choice for seed starting. Tomatoes, peppers, eggplants, and similar crops can be slow to reach transplant size, especially when spring temperatures are cool. Starting them indoors also lets you choose from a broader range of varieties than you may find as established plants at a garden center. The same principle applies to annual flowers that need extra time before they reach their full display.
When choosing vegetable seeds, look beyond the crop name and compare the variety's maturity information. Check the packet for the number of days until harvest, then consider whether the plant can mature before the first fall frost in your area. A variety with a longer maturity period may need an earlier indoor start, while a quicker variety may fit better if your outdoor growing season is short. Seed packets can also provide useful guidance about whether a variety is suited to transplanting, so read the growing instructions before filling your trays.
Not every seed needs to be started indoors. Fast-growing crops that dislike root disturbance, or plants that prefer cool outdoor conditions, may be better sown directly where they will grow. If a packet recommends direct sowing, follow that guidance rather than moving the seedling later. Indoor space, light, and attention are limited, so reserve them for plants that genuinely gain an advantage from an early, protected start.
Plan for leftovers, too. After planting, place unused seed packets in an airtight container and keep them somewhere cool and dry. A refrigerator is an ideal location, according to the University of Minnesota Extension. Let the sealed container return to room temperature before opening it, which helps prevent moisture from condensing on the packets. Labeling the container with the crop and year makes it easier to decide what to use next season.
Thoughtful seed selection is the first step in learning how to start seeds indoors. Choose varieties that match your growing season, then give each one the timing and space its packet instructions recommend.
What Seed Starting Supplies Do You Really Need?
The growing medium is one of the few supplies that can determine whether a seedling gets a strong start or struggles from the beginning. Young roots need a medium that holds enough moisture for germination while still allowing air and excess water to move through. For that reason, use a sterile, light, fluffy seed-starting mix rather than heavy garden soil. The University of Minnesota Extension specifically recommends this type of mix for indoor seed starting.
Fresh seed-starting mix also supports a cleaner growing environment. Sterile materials and sanitized containers reduce exposure to soil-borne problems such as damping-off, a disease that can cause young seedlings to collapse at the soil line. Clean trays, fresh mix, and good drainage are simple safeguards that matter more than buying a long list of specialty products.
| Growing medium. | Material. | Drainage. | Sterility. | Best use. |
|---|---|---|---|---|
| Seed-starting mix. | Light, fine, fluffy ingredients formulated for seeds. | Fast and balanced, with room for air around roots. | Choose a fresh sterile mix. | Germinating seeds and supporting young seedlings. |
| Potting soil. | General-purpose blend designed for established plants. | Varies by product and can be heavier than seedlings need. | Varies by product. | Transplanted seedlings and mature container plants. |
| Garden soil. | Mineral soil from an outdoor garden bed. | Often too dense for small indoor containers. | Not reliably sterile. | Outdoor beds, not indoor seed trays. |
Beyond the medium, gather containers with drainage, a clean tray, labels, and a gentle way to water. A spray bottle can help moisten the surface without displacing seeds. If you want to compare individual items before buying, review this guide to essential seed starting supplies. For a more convenient setup, seed-starting kits can group compatible trays and accessories together.
Skip the temptation to fill seed cells with soil from outdoors. It may compact around delicate roots, drain poorly, and introduce organisms that are difficult to manage inside. Starting with the right medium gives each seed a more consistent environment and makes the next steps in how to start seeds indoors easier to control.
How to Start Seeds Indoors in 6 Simple Steps
Starting seeds indoors is straightforward when you create a clean, stable environment and check on it consistently. Plan to begin most seeds 6 to 8 weeks before the last expected frost date in your area. That window gives seedlings time to develop before outdoor conditions are suitable, while still leaving room to adjust for slower or faster growth.
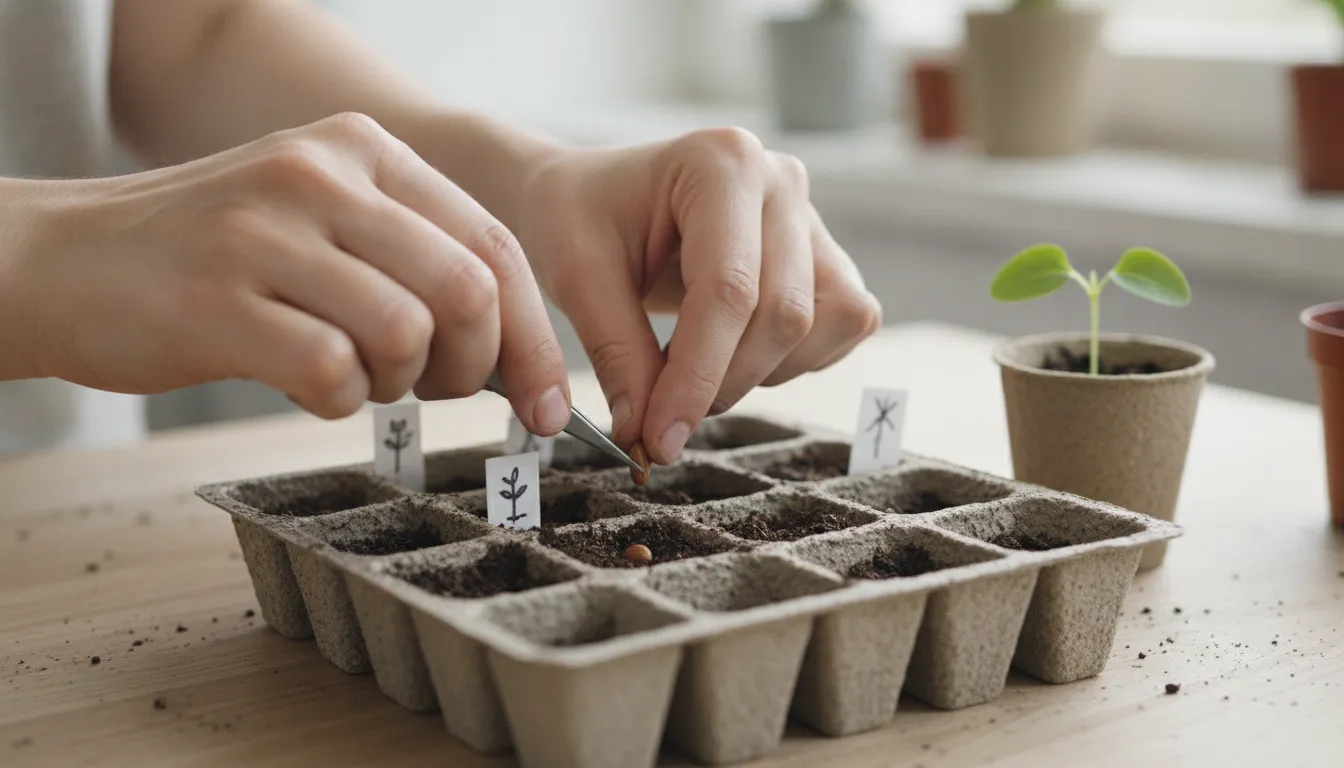
Choose trays or cells. Select a clean seed tray, cell pack, or small containers with drainage holes. Individual cells make it easier to separate seedlings later and help you avoid disturbing neighboring roots. If you are new to the process, review this guide to using germination trays and humidity domes before you set up your station.
Fill the cells with sterile seed-starting mix. Use a fresh, light, fluffy mix made for germination rather than heavy garden soil. A sterile medium supports delicate roots and helps reduce the risk of soil-borne problems. Fill each cell loosely, then level the surface without compressing it into a dense layer.
Sow the seeds at the right depth. As a general rule, plant each seed at a depth of about twice its width. Small seeds may need only a light covering, while larger seeds can go deeper. Always follow the packet instructions when they differ from this general guideline. Label each tray or row so you can identify varieties and track when they were planted.
Water gently and add a humidity dome. Moisten the mix without washing seeds out of place. A spray bottle or gentle stream works well for the first watering. Then cover the tray with a humidity dome. The dome retains moisture around the seeds and creates the consistently humid conditions that support germination. Check the tray regularly and remove excess condensation or briefly vent the dome if the surface stays excessively wet.
Place the tray under a suitable light. Move the covered tray to a bright growing area, then ensure emerging seedlings receive adequate artificial light. A windowsill can have cold nighttime temperatures, hot daytime temperatures, and insufficient light, which may produce weak, stretched growth. Keep the light positioned according to its instructions so seedlings receive even coverage without overheating.
Keep the mix warm and moist. Maintain a steady environment while seeds germinate. The mix should remain consistently moist, but never waterlogged. Once seedlings emerge, continue checking moisture frequently and water gently as needed. Remove the dome when seedlings need more airflow or have outgrown it, then continue providing steady light and moisture as they develop.
These steps establish a dependable start, but the work continues after germination. Watch the seedlings rather than following a rigid schedule: adjust watering when the surface dries. Improve light if stems begin stretching, and prepare for gradual outdoor acclimation before transplanting.
How Much Light Do Seedlings Need Indoors?
Light is one of the biggest factors in whether young seedlings develop sturdy stems or become thin and stretched. Artificial lighting is essential for producing healthy seedlings because natural light from a window is often too weak or inconsistent. A practical starting point is to provide seedlings with 12 to 16 hours of light each day, followed by a consistent dark period. The Old Farmer's Almanac recommends 12 to 16 hours of daily light for seedlings.
When you are learning how to start seeds indoors, set up the light before your seeds emerge. Position the fixture so it illuminates the full tray rather than only the center. Keep the light close enough to provide strong, even coverage, while following the fixture manufacturer's recommended distance to avoid excess heat. As the seedlings grow, adjust the fixture or raise the tray so the tops remain within the effective lighting area. For a deeper look at fixtures, see our complete guide to LED grow lights and how to choose the right grow light for your space.
Why a Windowsill Is Usually Not Enough
A bright windowsill can seem like the simplest solution, but it often creates two problems at once. Windows may be cold at night and hot during the day, exposing seedlings to temperature swings. They also may not provide enough usable light for compact growth. The result can be weak, tall seedlings with thin, bent stems. For that reason, a windowsill is generally unsuitable as the primary growing location for indoor seedlings.
Use a dedicated indoor growing area where you can control the light schedule and keep trays evenly illuminated. If you use a window for supplemental light, treat it as an added source rather than assuming it will meet the seedlings' full needs. For more detail on choosing and positioning supplemental lighting, review these indoor seedling lighting requirements.
How to Spot a Light Problem
Watch the seedlings, not just the timer. Leggy or stretched growth is a common sign that plants are not receiving enough light. Seedlings may lean toward a nearby window, develop unusually long gaps between leaves, or struggle to support themselves. Move the light closer within the safe range, improve coverage across the tray, or increase the daily lighting period if needed. Correcting the setup early is easier than trying to strengthen severely elongated growth later.
How to Care for Seedlings After They Sprout
Once seedlings emerge, their needs shift from simply breaking through the mix to building strong roots and sturdy stems. Small adjustments to watering, temperature, and airflow can make a meaningful difference during this vulnerable stage.
Water gently and consistently
Seed-starting mix should stay consistently moist, but it should never be waterlogged. Check the surface and the weight of the container rather than watering automatically on a fixed schedule. If the mix feels dry near the surface, apply enough water to moisten it without leaving the tray sitting in runoff. The University of Minnesota Extension recommends using a spray bottle for gentle watering, which helps avoid displacing young seeds or washing away delicate roots. Learn more about watering seedlings from University of Minnesota Extension.
Overwatering can limit the air available around roots and create conditions that contribute to root rot and other disease problems. Make sure containers have drainage holes, and empty any standing water from a tray after the mix has absorbed what it needs. A humidity dome can be useful before emergence, but once seedlings are up, provide ventilation and monitor moisture more closely. The goal is evenly damp mix, not a saturated container.
Keep temperatures comfortable
Temperature consistency matters as much as the number on a thermometer. For germination and early seedling development, aim for a comfortable range of about 65F to 75F, a range identified by The Old Farmer's Almanac for optimal germination. Review the Almanac's seed-starting guidance. Avoid placing trays beside a radiator, heat vent, or drafty door. For help keeping a steady environment, review our guide to temperature and humidity control for indoor grow rooms. Excess heat can dry the mix quickly, while cold drafts can slow growth and make moisture management more difficult.
After watering, look at the seedlings rather than just the soil. Healthy seedlings should remain upright, with leaves that are firm and evenly colored for their variety. If stems look weak or growth appears stalled, check light exposure as well as moisture and temperature. Correcting the growing conditions early is easier than trying to recover seedlings that have been repeatedly stressed.
When and How to Transplant Seedlings Outdoors
Moving seedlings outside is not a single-day event. Indoor-grown plants have been protected from shifting temperatures, wind, rain, and strong sunlight, so they need time to adjust before they are planted in their permanent location. The process is called hardening off, and it is one of the most important steps in learning how to start seeds indoors successfully.
Harden seedlings gradually
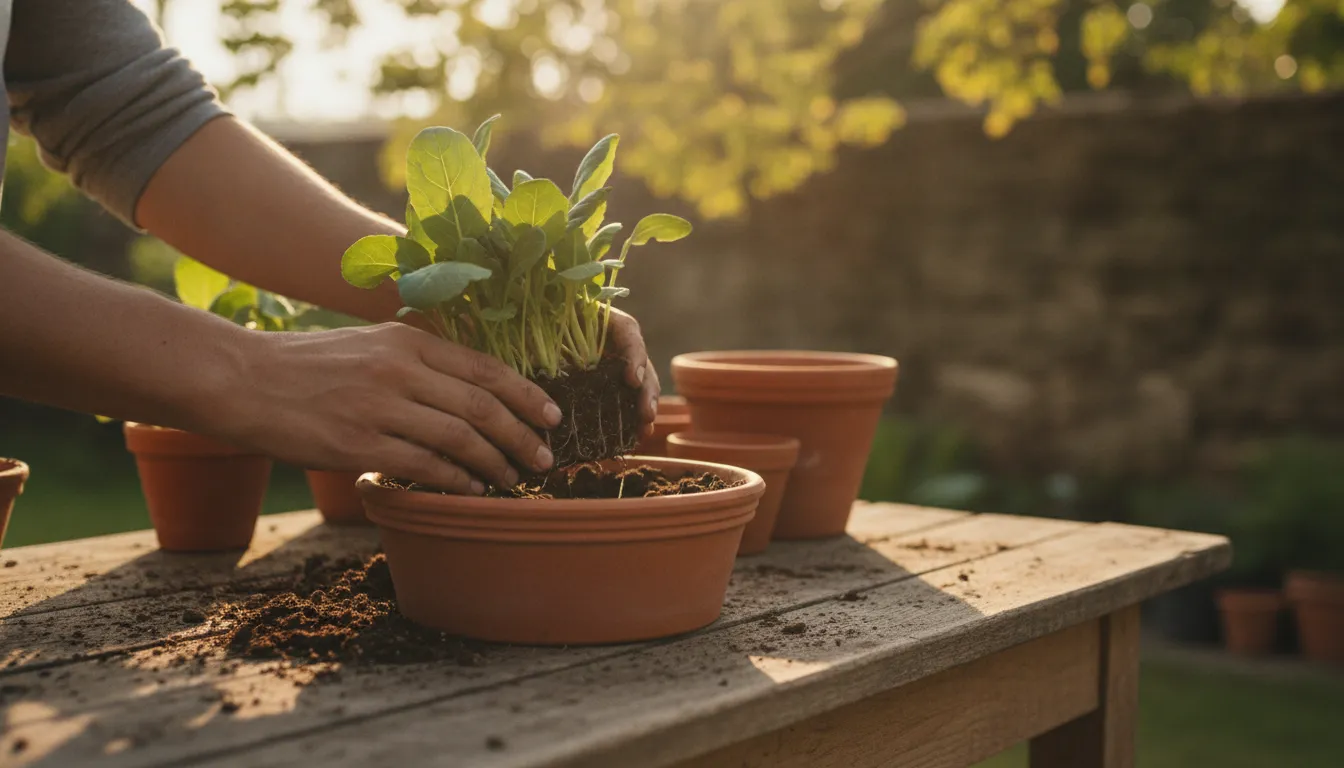
Hardening off means gradually acclimating indoor-grown seedlings to outdoor conditions such as wind and direct sun. Without this transition, tender stems and leaves can suffer from sunscald, wind damage, or sudden stress. Even a healthy-looking seedling can struggle when moved directly from a protected growing area into full outdoor exposure.
Begin on a mild day when strong wind, heavy rain, or extreme temperatures are not expected. If you are growing inside a tent, keep airflow dialed in with our grow tent ventilation and fan sizing guide. Place the trays outdoors in a sheltered, shaded spot for a short period, then bring them back inside. Repeat the process each day, increasing the time outdoors as the plants become more comfortable. Over several days, introduce brighter light and a less protected location. Keep an eye on the leaves and stems, and shorten the next outdoor session if the plants wilt, bleach, or look damaged.
Continue protecting seedlings overnight while they are hardening off. The goal is not simply to increase outdoor hours. It is to build tolerance to the conditions they will experience in the garden while keeping them healthy and hydrated. Water the growing medium as needed so it stays consistently moist, but avoid moving trays outdoors when the mix is saturated or the weather is unsettled.
Choose the right time to plant
Transplant after the local frost risk has passed and the outdoor conditions match the needs of the specific crop. Use the seed packet and local growing guidance to determine the appropriate timing. Warm-season seedlings generally need warmer soil and air than cool-season crops, so the calendar date alone is not enough. A brief warm spell is not a reliable signal if cold nights are still likely.
Before planting, select a cloudy day or work in the late afternoon to reduce immediate sun and heat stress. Water the seedlings gently beforehand, then handle them by the leaves or root ball rather than squeezing the stem. Set each plant at the depth recommended for that crop, firm the surrounding soil lightly, and water the planting area thoroughly. A short period of shade after transplanting can help reduce shock while the roots begin settling into their new environment.
Keep checking the plants during the first week outdoors. Slight adjustment is normal, but persistent wilting, scorched leaves, or damaged stems means the transition was too fast or conditions are too harsh. Provide temporary protection and give the seedlings more time to acclimate before exposing them fully again.
See the University of Minnesota Extension guidance on starting seeds indoors for additional timing and transplanting context.
Get grow lights and seed-starting supplies at GroIndoor before you sow your trays.
Frequently Asked Questions
What is the best soil for starting seeds indoors?
Use a fresh, sterile, light, and fluffy seed-starting mix. Heavy garden soil can compact around delicate roots and may introduce disease. A clean mix and sanitized containers also help reduce the risk of damping-off. Avoid packing the medium tightly, because newly developing roots need air as well as moisture. University of Minnesota Extension recommends a sterile seed-starting mix.
When should I start seeds indoors for spring?
Use your area's expected last frost date as the starting point. Most seeds can be started indoors about 6 to 8 weeks before that date, although the seed packet may recommend a different schedule for the specific variety. Count backward from the frost date, then allow enough time for the seedlings to grow sturdy before moving them outdoors. University of Minnesota Extension provides the 6-to-8-week guideline.
Do I need grow lights to start seeds indoors?
Grow lights are the most reliable way to provide strong, consistent light for indoor seedlings. A bright window may still produce stretched, weak growth because light levels fluctuate, especially in winter. If seedlings become tall and thin, increase their usable light rather than simply adding more water. Keep the light close enough to illuminate the plants without overheating them, following the fixture's guidance.
What is the purpose of a humidity dome?
A humidity dome holds moisture around the seed tray while seeds germinate, helping the growing medium stay evenly damp. Check the tray regularly, and remove or vent the dome once seedlings emerge so excess humidity does not encourage problems. The dome supports germination, but it does not replace proper drainage or careful watering.
What does hardening off seedlings mean?
Hardening off means gradually acclimating indoor-grown seedlings to outdoor conditions before transplanting. Introduce them to outdoor air, wind, and direct sun in increasing amounts instead of moving them straight from a protected room into full exposure. This transition helps reduce transplant stress. University of Minnesota Extension describes hardening off as gradual exposure to outdoor conditions.
Ready to Start Your Indoor Seed Garden?
The right light and seed-starting supplies can make it easier to give new seedlings consistent care from the first sprout. When you are ready to gather what you need, shop grow lights and seed-starting supplies at GroIndoor. Start your garden right with practical equipment selected for indoor growing, and use the guide above to build a routine that suits your space.
Tags: