A weak stream of bubbles can become a root-zone problem long before the leaves show it. Choosing the right air stones for hydroponics means matching the diffuser, pump, tubing, reservoir depth, and placement as one system. This guide gives you a practical sizing method, setup steps, maintenance checklist, and troubleshooting sequence so you can keep nutrient solution circulating without guessing.
Shop air pumps and air stones for your hydroponic setup.
Why air stones for hydroponics matter
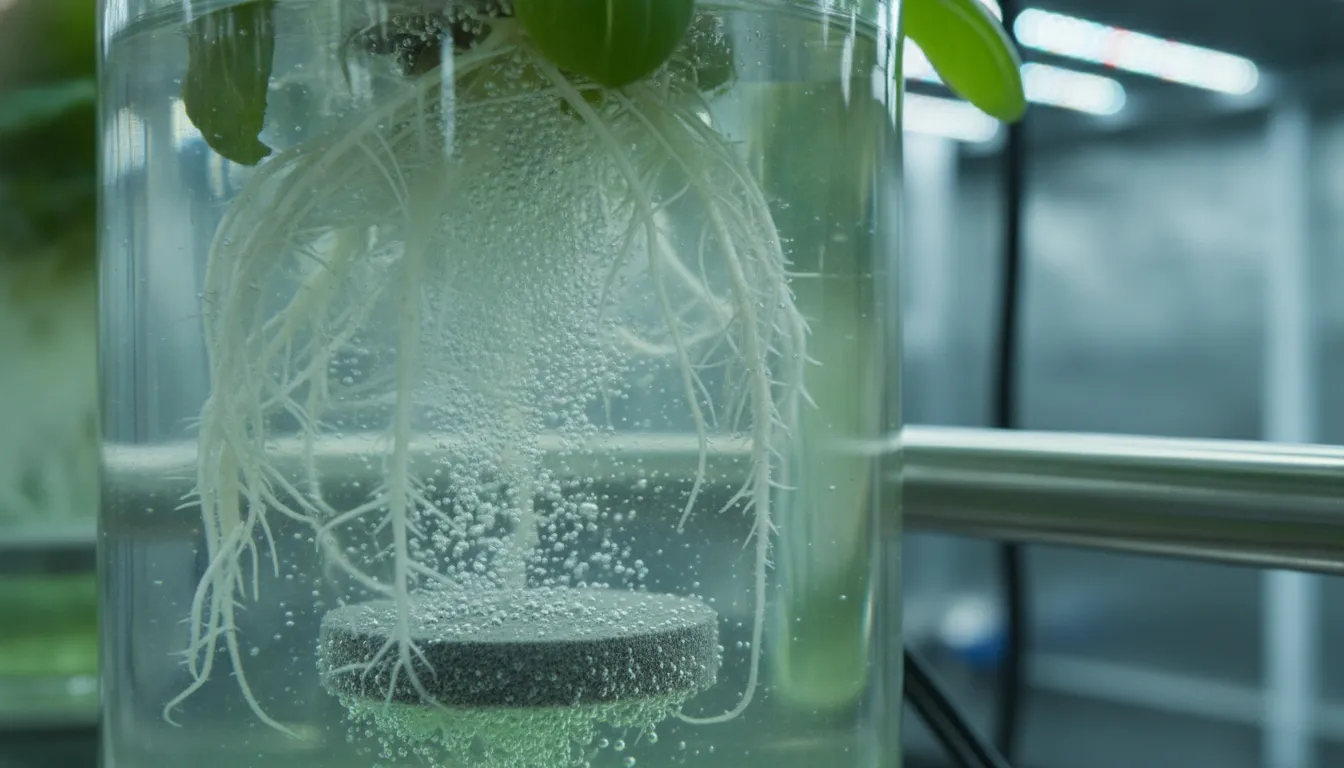
Roots need oxygen to support respiration and nutrient uptake. In systems where roots remain submerged, aeration helps replenish dissolved oxygen and moves nutrient solution through the root zone. This is especially important when water circulation is limited or the reservoir is warm.
An air pump sends room air through tubing and into a porous stone or diffuser. The diffuser divides that airflow into bubbles. As the bubbles rise, they move water and disturb the surface, improving gas exchange. Fine bubbles provide more contact area, but an even bubble pattern and useful circulation across the reservoir matter more than bubble size alone.
Air stones also help reduce stagnant areas. They do not replace correct nutrient mixing, water-temperature control, or reservoir sanitation. Use them as one part of a complete system that includes regular checks of pH, electrical conductivity when applicable, water level, and root condition. For related fundamentals, review GroIndoor's guides to hydroponic water temperature and how to properly mix plant nutrients.
Air stones versus air diffusers
Traditional air stones are usually made from porous mineral or ceramic material. Other diffusers may use flexible membrane, plastic, or different pore designs. Each option has a required operating pressure and intended airflow range. A fine-pore diffuser can create small bubbles, but it may also demand more pressure from the pump. A lower-resistance diffuser may be a better fit for a modest pump or a deep reservoir.
Choose based on pump compatibility, tank shape, cleaning requirements, and replacement cost rather than appearance alone. GroIndoor's comparison of air diffusers and air stones provides more detail on the available formats.
How to size an air stone and air pump
Start with the reservoir's actual operating volume, not its maximum capacity. Then account for water depth, tubing length, splitters, check valves, and the resistance of each diffuser. Pump ratings are often measured without the backpressure created by a working hydroponic setup, so the flow delivered at the stone can be lower than the number on the box.
Use reservoir volume as a starting point
A commonly used starting point is about one liter of air per minute for each gallon of nutrient solution. Treat that as a planning baseline, not a universal guarantee. Plant size, root density, water temperature, system design, and pump performance all affect the final requirement. Select a pump with adjustable flow or enough headroom to tune the system, then confirm that every reservoir receives steady circulation.
The sizing table below preserves a practical starting range. Always compare it with the pump manufacturer's flow-at-depth information and the stone's recommended airflow.
| Tank Size | Pump Power | Stone Setup | Best Use |
|---|---|---|---|
| Small (1-5 Gal) | 2-5 LPM | 1 Small Disc | Clones and seedlings |
| Medium (5-20 Gal) | 10-20 LPM | 2 Large Stones | Single plant buckets |
| Large (20-50 Gal) | 40-60 LPM | 4 Stones with Manifold | Multi-plant beds |
| XL (50+ Gal) | 100+ LPM | Large Ceramic Stones | Commercial grows |
Account for depth and backpressure
Deeper water pushes harder against the pump. Long tubing runs, narrow tubing, check valves, manifolds, and fine-pore stones add resistance too. When one pump serves several buckets, the shallowest or least restrictive line may receive most of the air unless each branch can be balanced.
- Check the pump's rated flow at the depth you will use.
- Keep tubing runs short and free of sharp bends.
- Use a manifold with individual valves when feeding multiple stones.
- Match every branch as closely as practical in tubing length and water depth.
- Leave capacity for gradual clogging between cleanings.
If a pump becomes unusually hot or loud, do not assume that more restriction will solve uneven flow. Inspect the entire air path first. Excessive backpressure can reduce output and shorten component life.
Match stone size to pump output
A large stone connected to an undersized pump may release bubbles from only part of its surface. A small stone connected to excessive airflow may create coarse, turbulent bubbles or wear quickly. Use the stone maker's recommended airflow whenever it is available. If specifications are missing, begin with a controllable pump and increase flow gradually until the stone produces an even pattern without excessive splashing.
For larger systems, spreading several appropriately sized stones across the tank may circulate water more evenly than forcing all airflow through one diffuser. Consider how the approach fits the crop and media. GroIndoor's guides to growing in rockwool, growing in coco coir, and hydroponic grow media explain how root-zone management differs among setups.
Where should you place air stones?
Place air stones near the bottom of the reservoir so bubbles travel through more water and create an upward current. The goal is broad circulation, not simply a dense bubble column in one corner. In a round bucket, a centered disc may work well. In a wide rectangular reservoir, two or more spaced stones can reduce stagnant zones.
Placement checklist
- Map the root zone. Identify where roots hang now and where the root mass is likely to expand.
- Set stones low. Position each stone near the bottom without blocking an outlet or drain.
- Spread circulation. In a large tank, space stones so the upward currents reach different areas.
- Secure the tubing. Prevent the line from lifting the stone, kinking, or interfering with roots.
- Protect the pump. Keep the pump above the waterline or install the correct check valve in the proper direction.
- Observe the pattern. Confirm bubbles emerge evenly and water moves across the reservoir.
Do not let a growing root mass completely cover a stone. Roots can restrict the bubble pattern and make inspection difficult. During reservoir service, gently reposition the stone if necessary without damaging roots.
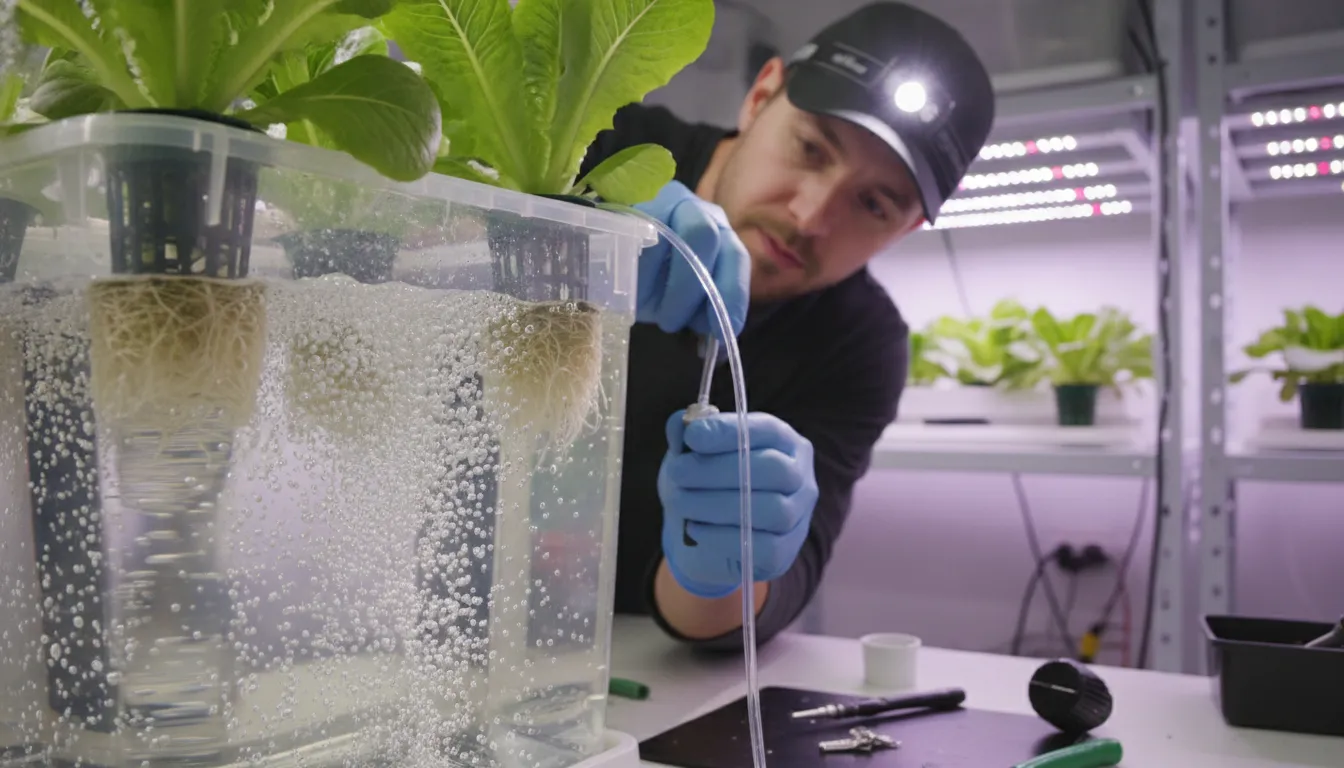
Verify circulation after setup
Once the system is running, look for areas where debris settles or the surface remains still. Compare airflow among all connected buckets. Uneven output may point to mismatched depth, a partially closed manifold valve, a kink, or a clogged diffuser. Recheck the system after adding nutrients because residue and precipitation can change performance over time. If mineral accumulation is recurring, GroIndoor's guide to cleaning salt buildup in hydroponic systems can help.
Compare air pumps and air stones before you build or upgrade your reservoir.
How much airflow does a hydroponic reservoir need?
The right airflow is the amount that maintains useful circulation and supports the root zone without causing avoidable heat, noise, splashing, or equipment strain. Because oxygen demand and dissolved oxygen change with conditions, there is no single setting that fits every crop and reservoir.
Adjust for water temperature and crop conditions
Warmer water holds less dissolved oxygen than cooler water. A dense, mature root mass also changes circulation compared with a young plant. Instead of setting the pump once and ignoring it, observe the system as plants develop and seasons change. Monitor water temperature, root appearance, odor, and bubble consistency. Address the cause of warm water rather than relying only on more airflow.
Water quality and nutrient preparation matter as well. Use suitable source water and follow nutrient instructions to reduce deposits that can clog diffusers. For deeper reading, see GroIndoor's resources on reverse osmosis systems for commercial use, measuring and adjusting pH, and pH testers for hydroponics and soil.
Balance a multi-reservoir system
When one pump feeds several reservoirs, start with all branch valves partly open. Compare the stones, then make small adjustments until the patterns are similar. Avoid closing most valves just to force air through one difficult branch, since that can create unnecessary pressure. If the pump cannot supply all lines at the required depth, reduce the load or use a properly sized additional pump.
A backup plan is useful for systems that depend on continuous aeration. Keep spare tubing, check valves, and clean diffusers available. Inspect the pump according to its manual, and make sure electrical connections stay dry and safely positioned.
Air stone cleaning and maintenance checklist
A gradual loss of bubbles is easy to miss. Regular inspection makes it easier to catch mineral scale, algae, blocked tubing, and worn pump parts before circulation drops significantly. Follow the diffuser manufacturer's cleaning instructions first because not every material tolerates the same treatment.
Weekly inspection checklist
- Compare the bubble pattern with its normal clean pattern.
- Look for weak sections, unusually large bubbles, or a stopped stone.
- Inspect tubing for kinks, cracks, loose joints, and water intrusion.
- Confirm check valves face the correct direction and remain clear.
- Check the stone for mineral crust, slime, algae, or trapped roots.
- Listen for new pump noise and check for unusual heat or vibration.
- Verify each branch of a manifold receives airflow.
Cleaning steps
- Turn off and unplug the pump before servicing the air system.
- Remove the stone carefully and rinse away loose residue with clean water.
- Use a soft brush to remove surface buildup without damaging the pores.
- Soak or sanitize only with a method approved for the stone's material.
- Rinse thoroughly so no cleaning residue enters the nutrient solution.
- Let the stone dry if the manufacturer's procedure calls for it.
- Reconnect the system and confirm an even bubble pattern before returning it to service.
Do not use soap that can leave residue in the reservoir. Replace a stone that remains clogged, crumbles, cracks, or produces an uneven pattern after correct cleaning. Keeping a clean spare lets you maintain airflow while another diffuser is being serviced.
Why is your air stone making weak bubbles?
Troubleshoot from the pump to the stone. Changing several parts at once can hide the real cause. Begin with the simplest restrictions and test after each correction.
Troubleshooting sequence
- Confirm power and pump operation. Check the outlet, cord, controls, and pump settings.
- Inspect the tubing. Straighten kinks, reconnect loose joints, and replace cracked line.
- Check the valve direction. A reversed or blocked check valve can sharply reduce flow.
- Test for an air leak. Listen near connections and verify every unused manifold port is closed.
- Compare branches. If only one stone is weak, swap lines to determine whether the fault follows the stone or the branch.
- Remove excess depth. Briefly test the stone in shallower water. Better output may indicate insufficient pressure at operating depth.
- Clean or replace the stone. Deposits and biological growth can block pores.
- Evaluate the pump. If every branch stays weak after restrictions are removed, service or replace the pump according to its manual.
Common symptom guide
| Symptom | Likely Cause | First Check |
|---|---|---|
| No bubbles from one stone | Kink, closed valve, clog, or loose connection | Swap the stone onto a working line |
| All stones are weak | Pump setting, leak, excess depth, or pump wear | Test one short line in shallow water |
| Bubbles emerge on one side | Partial clog or stone not level | Reposition, clean, and retest |
| Pump is louder or hotter | Excess backpressure or component wear | Inspect restrictions and follow the pump manual |
| Airflow changes among buckets | Unbalanced manifold or unequal depth | Adjust individual branch valves |
If roots look unhealthy, treat aeration as only one part of the diagnosis. Check water temperature, pH, sanitation, nutrient concentration, and root-zone disease risks. GroIndoor's guide to keeping roots healthy offers additional root-care context.
Find replacement air stones, diffusers, and pumps for your next maintenance cycle.
Choosing the right diffuser for your system
Match the diffuser shape to the reservoir. A compact cylinder or disc can fit a single bucket. A bar or multiple spaced stones can distribute airflow across a long tank. Ceramic options often support fine bubbles but may require more pressure. Whatever the material, prioritize a compatible airflow range, even output, practical cleaning, and secure placement.
Also consider how you grow. A small hydroponic herb or microgreen setup has different space and root-zone needs than a large fruiting crop. Explore GroIndoor's guides to growing microgreens hydroponically, growing hydroponic tomatoes, and growing strawberries hydroponically when planning the full system.
Compare options before buying
Before selecting a stone, write down the reservoir's operating gallons, water depth, dimensions, number of plant sites, and planned tubing length. Then identify whether one pump will serve one tank or several. These details make it easier to compare a pump's pressure and flow information with the diffuser's required airflow. They also help prevent an oversized stone from being paired with a pump that cannot activate its full surface.
Check how the stone will stay in place. A light diffuser may move when air starts flowing, while a weighted base can help maintain the intended pattern. Confirm that the inlet fits the tubing you plan to use and that replacement tubing, valves, and manifolds are readily available. If the diffuser has a special cleaning procedure, decide whether that routine fits your reservoir maintenance schedule.
Run a setup test before adding plants
Test the complete air system with water before plants and nutrients make adjustments harder. Set the intended water depth, connect every branch, and run the pump long enough to observe the pattern. Look for leaks, moving stones, uneven branches, excessive splashing, and pump heat. Make one change at a time, then retest.
- Confirm that each stone releases bubbles across its intended surface.
- Verify that tubing stays secure and does not kink when the lid is installed.
- Adjust manifold valves so one branch does not take most of the airflow.
- Check that the pump and electrical connections remain dry and stable.
- Record the clean bubble pattern so future changes are easier to spot.
After nutrients are mixed and plants are in place, repeat the visual check. Roots, tank hardware, and changing water levels can alter circulation. Include the air system whenever you inspect the reservoir rather than treating it as separate equipment.
Frequently Asked Questions
Are air stones needed for hydroponics?
Air stones are commonly used in systems where roots remain submerged and need active aeration, including many deep water culture setups. Other system designs may oxygenate nutrient solution through circulation, falling water, or a different diffuser. The correct choice depends on how the system delivers water and oxygen to the root zone.
What can I use instead of air stones in hydroponics?
Depending on the system, alternatives include other air diffusers, circulation pumps, venturi devices, or designs that create surface agitation as nutrient solution returns to the reservoir. Any alternative should be sized for the reservoir and should provide consistent circulation without damaging roots or creating unsafe splashing.
Can you add too much air to water with air stones?
More pump output is not always better. Excess airflow can create splashing, noise, heat, turbulence, and unnecessary equipment wear. Adjust the system for even circulation and reliable root-zone aeration, then monitor plant and equipment conditions rather than maximizing bubbles.
Does water temperature affect how well air stones work?
Yes. Warmer water holds less dissolved oxygen, so reservoir temperature affects the conditions air stones must support. Monitor and manage water temperature alongside airflow rather than trying to correct high temperatures with aeration alone.
Build a reliable aeration routine
Successful aeration comes from matching components and checking them consistently. Size the pump using operating volume and depth, place stones for broad circulation, balance every branch, and clean the system before deposits restrict airflow. A few minutes of regular inspection is more useful than waiting for a stopped stone or unhealthy roots to reveal a problem.
Tags: